
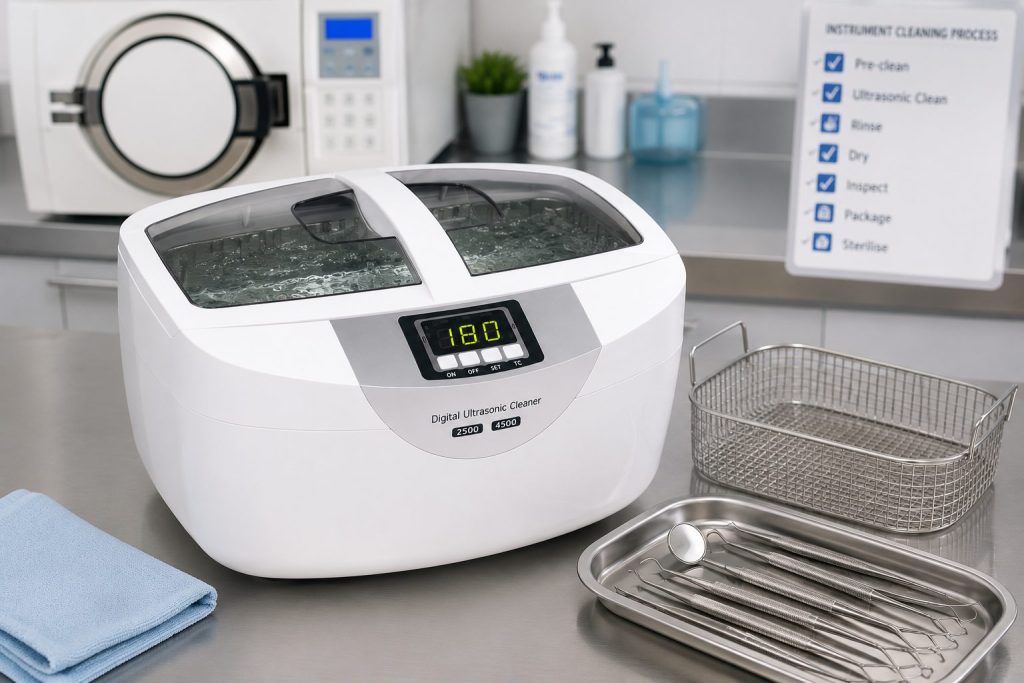
Why Degassing Matters When Using an Ultrasonic Cleaner
Degassing is an important but sometimes overlooked step when preparing an ultrasonic cleaner. When fresh water and cleaning solution are added to the tank, they contain dissolved air and other gases. These gases can interfere with the formation of the microscopic cavitation bubbles responsible for ultrasonic cleaning.
Degassing the solution before adding instruments helps the ultrasonic cleaner work more effectively and consistently. It can improve cleaning performance, reduce uneven results and help ensure hard-to-reach areas of clinical instruments receive the full benefit of ultrasonic cleaning.
What Does Degassing an Ultrasonic Cleaner Mean?
Degassing is the process of removing trapped and dissolved gases from the liquid inside an ultrasonic cleaner.
Freshly poured water and newly mixed cleaning solution naturally contain air. When the ultrasonic cleaner is first switched on, some of its energy is used to release these gases rather than clean instruments.
Running the ultrasonic cleaner without a load allows the gases to escape from the solution. Once this initial process is complete, the ultrasonic energy can produce more effective cavitation throughout the tank.
How Ultrasonic Cavitation Works
Ultrasonic cleaners use high-frequency sound waves to create millions of tiny bubbles in the cleaning solution. These bubbles rapidly form and collapse in a process known as cavitation.
The action helps dislodge contamination from instrument surfaces, including difficult areas such as:
- Hinges and joints
- Grooves and serrations
- Narrow gaps
- Detailed or textured surfaces
This makes ultrasonic cleaning particularly useful for dental, podiatry, veterinary, tattoo and beauty instruments that can be difficult to clean thoroughly by hand.
Dissolved gases cushion the collapse of cavitation bubbles. This reduces the energy reaching the instruments and may weaken the cleaning action.
Why Fresh Ultrasonic Cleaning Solution Should Be Degassed
Every time the tank is emptied and refilled, the fresh solution may need to be degassed before instruments are processed.
Without degassing, clinics may experience:
- Reduced cleaning efficiency
- Uneven cleaning across the tank
- Longer cleaning cycles
- Debris remaining in difficult areas
- Inconsistent results between loads
Degassing helps create a more uniform and effective ultrasonic cleaning environment. This is particularly important when processing reusable clinical instruments before autoclaving.
How to Degas an Ultrasonic Cleaner
The correct procedure depends on the model being used, so always follow the manufacturer’s operating instructions.
The usual process involves:
- Filling the tank to the recommended level.
- Adding the correct amount of approved ultrasonic cleaning solution.
- Placing the lid on the unit where instructed.
- Running the cleaner without instruments in the basket.
- Using the dedicated degas mode if the machine has one.
- Allowing the cycle to finish before loading instruments.
Some ultrasonic cleaners include an automatic degassing function. Other units may require the normal ultrasonic cycle to be operated without a load.
There is no single degassing time suitable for every machine. Tank size, solution temperature, detergent and equipment design can all affect how long the process takes. The operating manual should always take priority over general guidance.
How Can You Tell When the Solution Is Degassed?
During the initial degassing process, small bubbles may rise to the surface and the ultrasonic cleaner may make a louder or less consistent sound.
As dissolved gases leave the solution, the visible bubbling may reduce and the sound of the unit may become steadier. A quieter sound does not necessarily mean that the ultrasonic cleaner has lost power. It can indicate that the solution has become properly degassed and cavitation is working more efficiently.
Does the Solution Need Degassing Before Every Load?
The cleaning solution does not normally need to be degassed again before every batch of instruments.
Degassing is usually required when:
- The tank has been freshly filled
- New cleaning solution has been mixed
- The liquid has been left standing for a prolonged period
- The manufacturer specifically recommends another degassing cycle
The solution should still be changed regularly in line with the detergent and equipment manufacturer’s guidance, and sooner if it becomes visibly contaminated.
Adding extra water or solution to the tank may introduce more dissolved air, so further degassing may sometimes be appropriate.
Degassing as Part of the Sterilisation Workflow
Ultrasonic cleaning is a pre-cleaning stage rather than a sterilisation process. Once instruments have been cleaned, they should be rinsed, dried, inspected and prepared for sterilisation in accordance with the relevant procedures and manufacturer’s instructions.
Clinics reviewing their instrument cleaning equipment can explore Excel Healthcare’s range of <a href=”https://excelhealthcare.co.uk/ultrasonic-cleaners/“>ultrasonic cleaners</a>, including different capacities for smaller treatment rooms and busier clinical environments.
Correctly preparing the ultrasonic cleaning solution helps support the next stages of the process by ensuring debris is removed as effectively as possible before instruments enter the autoclave.
Common Degassing Mistakes
A common mistake is placing instruments into a freshly filled tank immediately after switching on the machine. This means part of the first cleaning cycle may be spent removing gases from the liquid instead of cleaning the instruments effectively.
Other mistakes include using an incorrect solution concentration, filling the tank above or below the recommended level and assuming every ultrasonic cleaner requires the same degassing time.
Following the instructions supplied with the equipment and cleaning solution is the most reliable way to achieve consistent results.
Conclusion
Degassing matters because dissolved gases can reduce the cavitation needed for effective ultrasonic cleaning. Preparing fresh solution correctly allows the cleaner to direct more of its energy towards removing contamination from instruments.
Although it only adds a small step to the workflow, degassing can improve cleaning consistency and help an ultrasonic cleaner perform as intended. Clinics should always follow the manufacturer’s instructions for filling, degassing, operating and maintaining their particular unit.
FAQs
What is the purpose of degassing an ultrasonic cleaner?
Degassing removes dissolved gases from fresh cleaning solution so that stronger and more consistent cavitation can take place.
Should instruments be inside the cleaner during degassing?
Normally, the solution is degassed before instruments are placed in the basket. Always check the operating instructions for the specific unit.
How long should an ultrasonic cleaner be degassed?
The required time varies between models and tank sizes. Use the machine’s degas programme where available and follow the manufacturer’s instructions.
Does ultrasonic cleaning solution need degassing every day?
It usually needs degassing whenever fresh solution is prepared or when the liquid has been left standing for a prolonged period. It does not generally need repeating before every load.
Does degassing sterilise the cleaning solution?
No. Degassing only removes dissolved gases and improves ultrasonic performance. It does not sterilise the solution or the instruments.